Follow Me On Social Media!

Homemade Buttermilk Cinnamon Rolls: Soft, Fluffy & Irresistible
Introduction to Homemade Buttermilk Cinnamon Rolls
There’s something uniquely comforting about baking homemade buttermilk cinnamon rolls. The aroma wafting through the kitchen takes you back to cherished family gatherings and lazy Sunday mornings. As you pull the warm, gooey rolls from the oven, it’s not just about the delightful treat you’re about to indulge in; it’s also about the memories built around it. When you make these rolls from scratch, you’re not just showcasing your baking skills but also creating a warm, inviting atmosphere that friends and family crave.
Why the Nostalgia of Homemade Rolls Matters
Homemade buttermilk cinnamon rolls become a canvas for our fond memories, stitching together experiences from childhood to present-day celebrations. Think about it: the kneading of the dough, the sweet cinnamon filling, and finally watching as those rolls puff up into golden, fluffy spirals. Each step in the process is an opportunity to connect with loved ones, or to simply embrace a moment of self-care with a touch of indulgence.
Research shows that engaging in activities like baking can significantly uplift our mood and reduce stress (American Psychological Association). The rhythmic motions of mixing and rolling can be therapeutic, serving as a pleasant escape from busy lives. Plus, when you share your homemade buttermilk cinnamon rolls with others, you’re not just sharing food; you’re sharing love and joy, which is the essence of community.
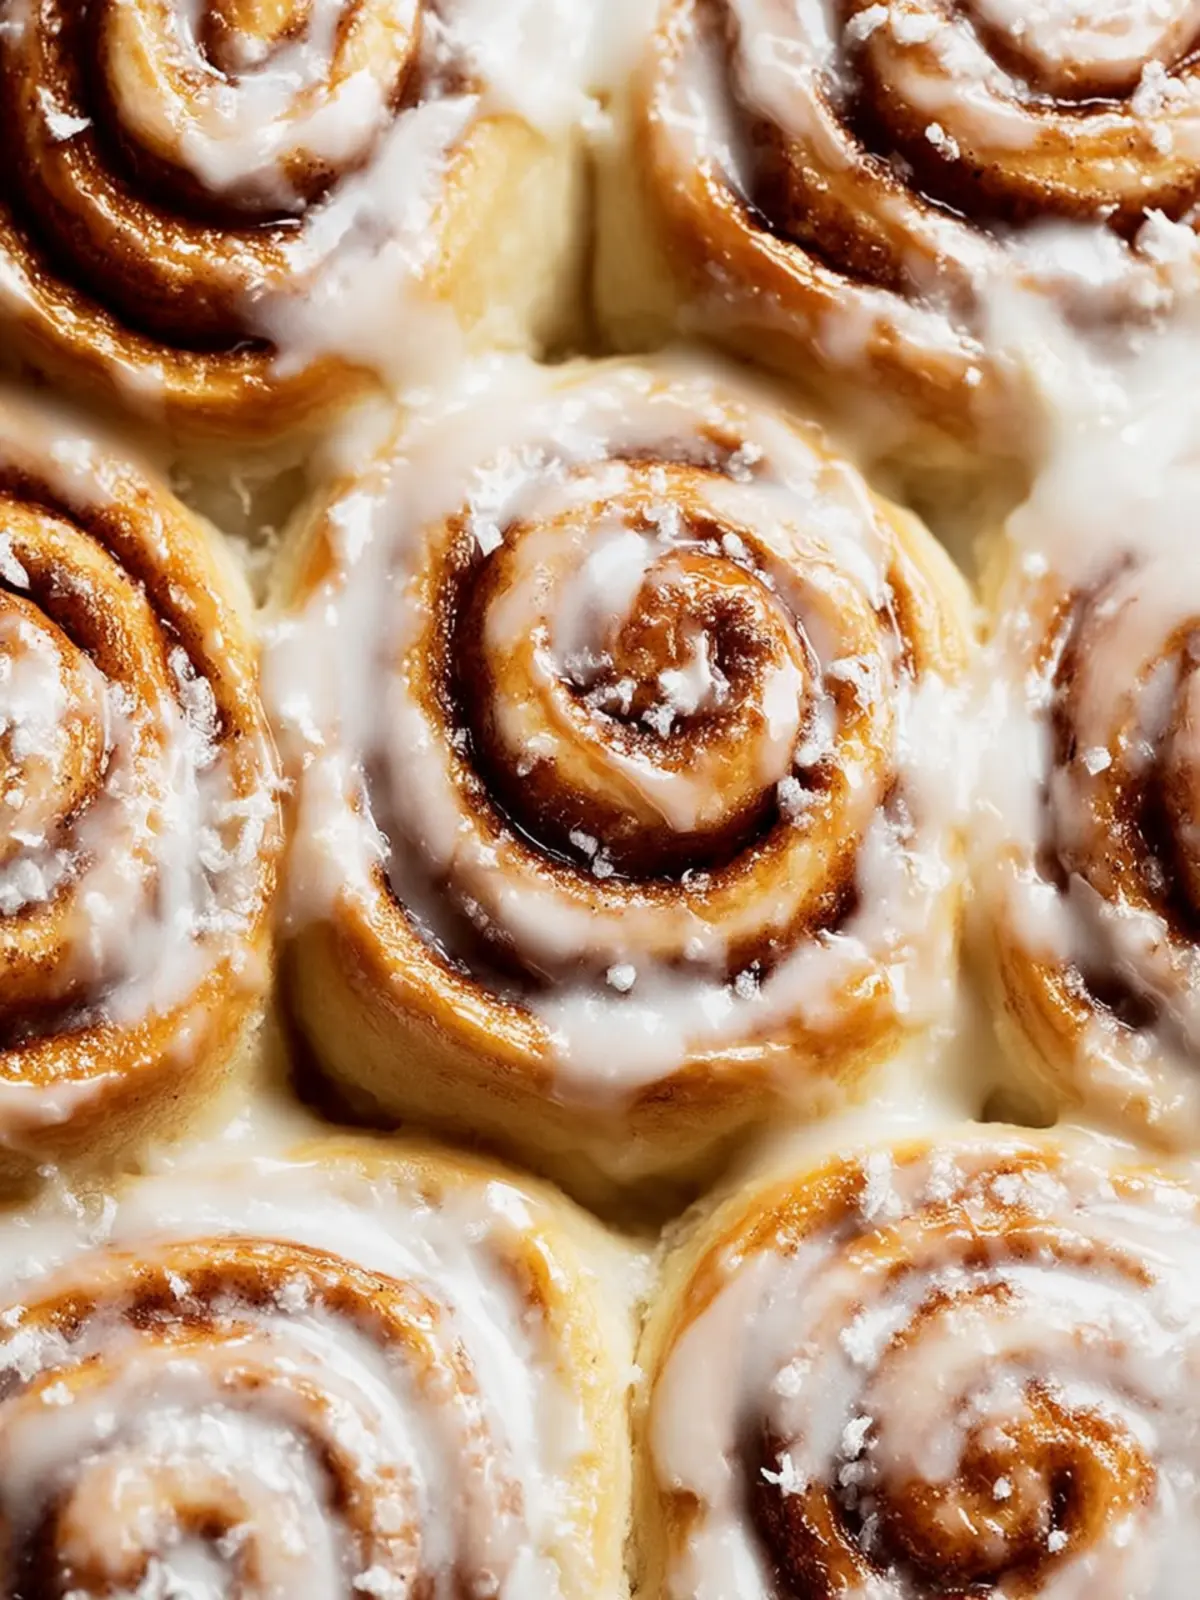
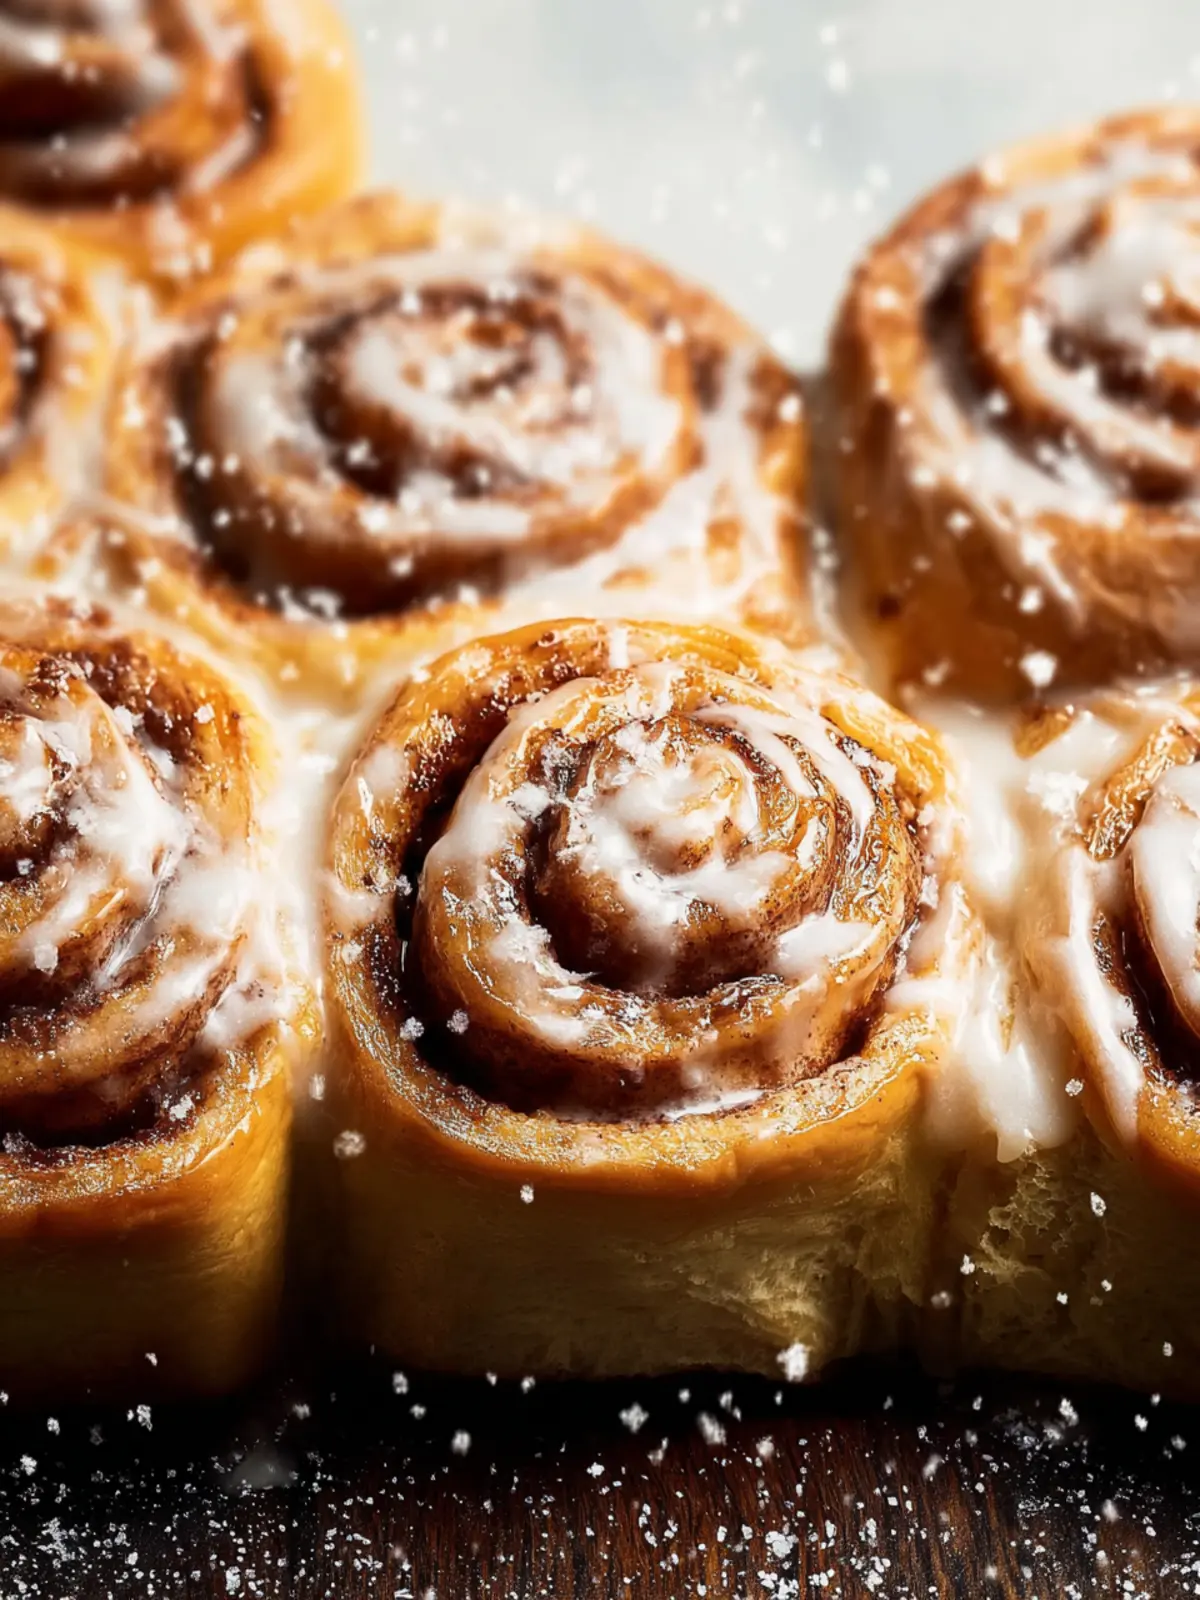
Imagine waking up to the visual joy of freshly baked rolls drizzled with creamy icing, a sight that can brighten anyone’s day. Each bite, with its soft texture and sweet-spicy flavor, carries the nostalgia of family traditions, bringing new memories to the surface.
So, as we delve into the specifics of crafting these incredible treats, think of the stories waiting to unfold around your kitchen table, and let the irresistible pull of homemade buttermilk cinnamon rolls transform your ordinary days into special occasions. Whether it’s a casual Saturday morning or a festive gathering, these rolls promise to be a hit that everyone will remember. Let’s get started on this delightful journey!
Key Ingredients for Homemade Buttermilk Cinnamon Rolls
When you dive into making homemade buttermilk cinnamon rolls, you’re not just baking; you’re creating something deeply comforting and delicious that can transform any mundane morning into a joyous occasion. Each ingredient plays a crucial role in crafting that soft, pillowy texture and that perfectly balanced flavor, making these rolls irresistible.
Flour
All-purpose flour is your go-to here. It provides the structure necessary for soft, chewy rolls while still allowing them to rise beautifully. For something a little different, you could explore using bread flour, which yields an even airier texture.
Buttermilk
Using buttermilk is essential for achieving that rich, tangy flavor and tenderness. It helps activate the baking soda, giving your rolls a delightful lift. If you don’t have buttermilk, you can easily make a substitute by mixing milk with a splash of vinegar or lemon juice.
Yeast
Fresh yeast is ideal for that perfect rise, making your rolls fluffy and light. Whether you use active dry yeast or instant yeast, ensure it’s fresh to avoid any hiccups in your dough.
Sugar
Granulated sugar sweetens your dough, while brown sugar contributes moisture and deep flavor to the cinnamon filling. This combination is what makes each bite of your roll so satisfying.
Cinnamon
Of course, the star of the show is cinnamon. Using high-quality ground cinnamon enhances the warmth and aroma of your rolls. It’s what turns your kitchen into a delightful bakery!
Together, these ingredients will lead to homemade buttermilk cinnamon rolls that not only look good but also taste heavenly. Happy baking!
Why You’ll Love These Homemade Buttermilk Cinnamon Rolls
The perfect weekend treat
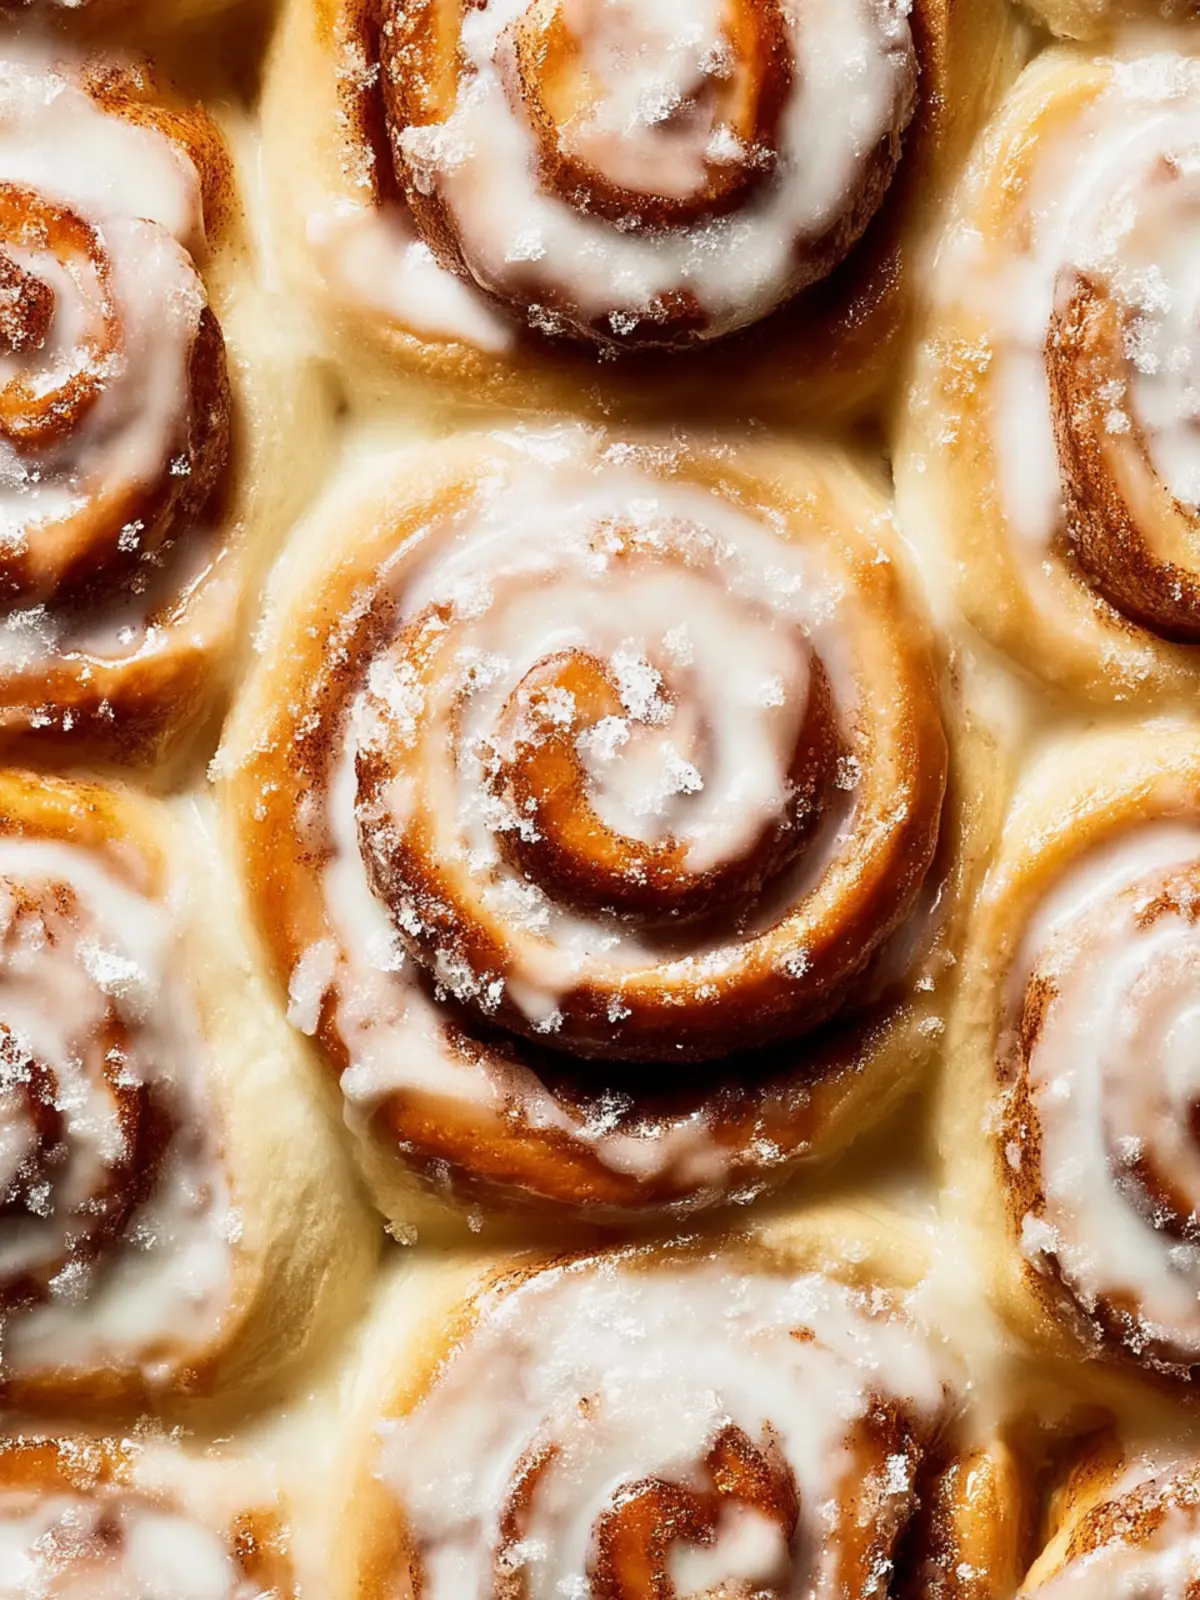
Imagine waking up to the intoxicating aroma of homemade buttermilk cinnamon rolls wafting through your kitchen on a Sunday morning. There’s something magical about taking the time to create a warm, indulgent treat that sets the tone for a leisurely day ahead. The combination of buttery dough, rich cinnamon filling, and a drizzle of creamy icing feels like a warm hug in the morning. Plus, with just a bit of planning, you can enjoy these fresh rolls that are both soft and gooey, making them irresistible to everyone in the family.
Great for gatherings or breakfast-at-home
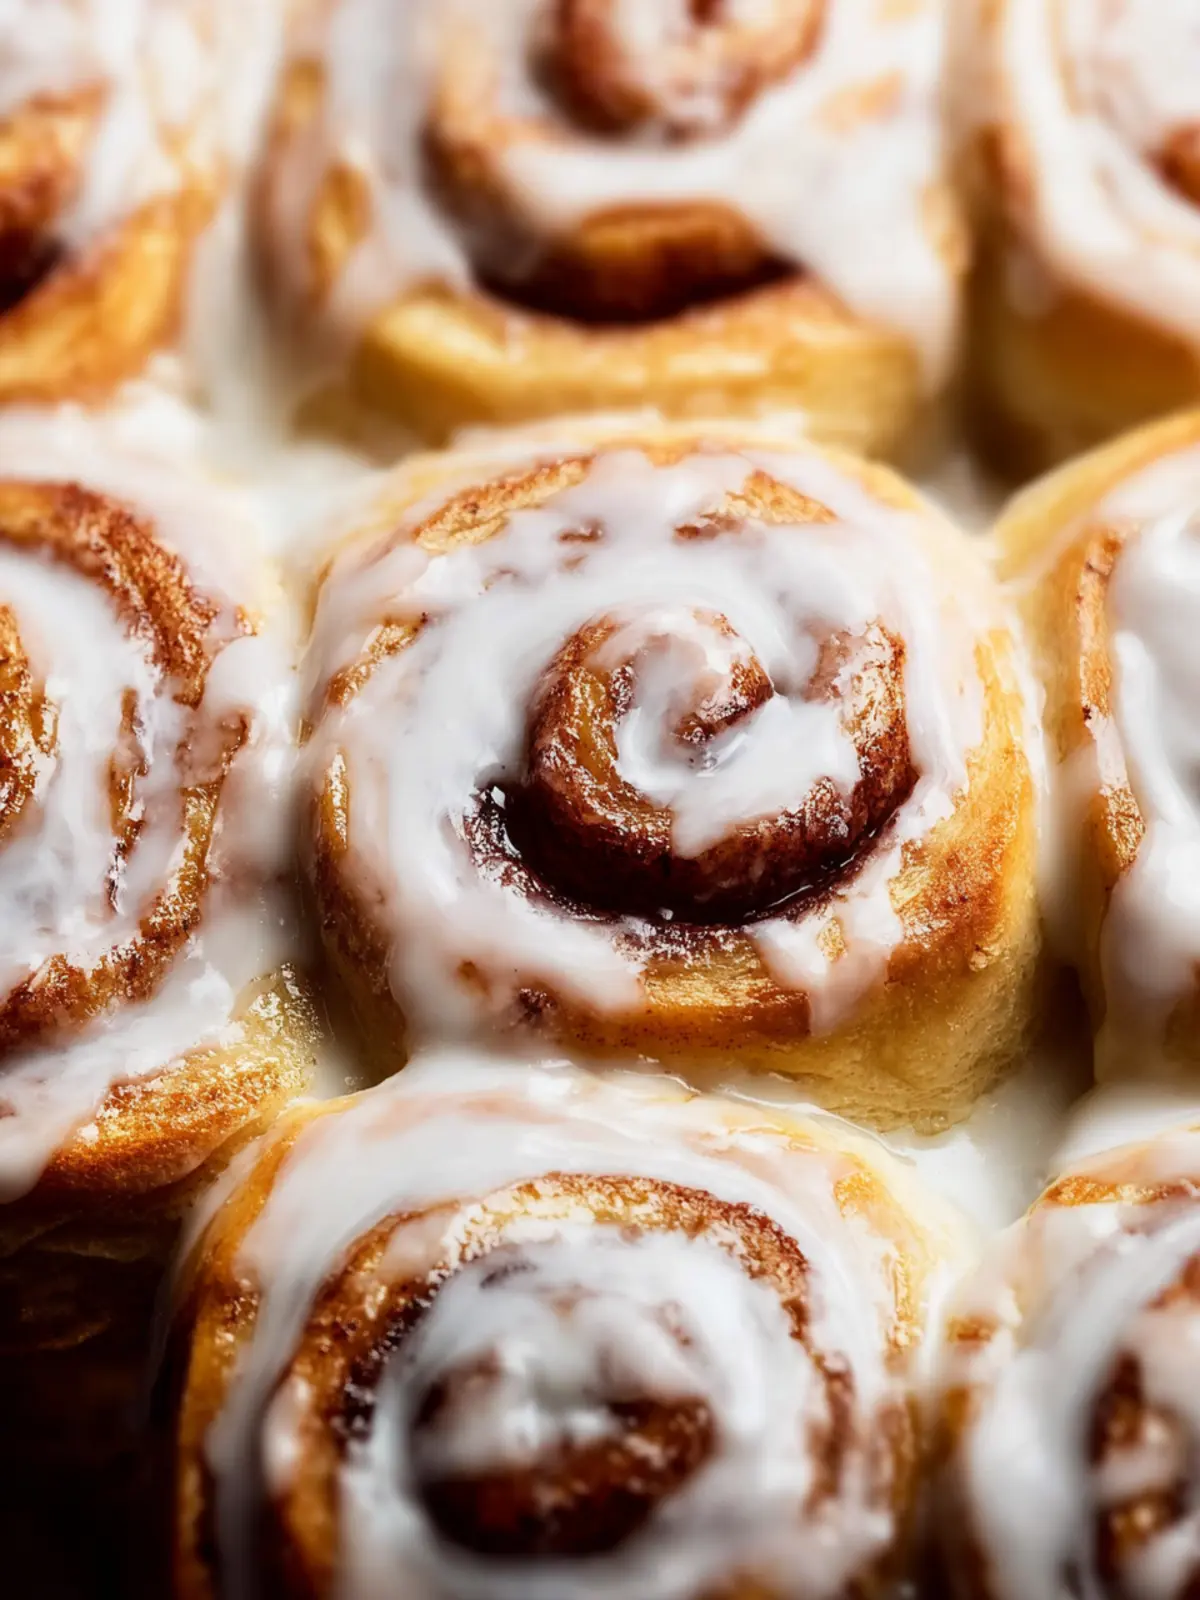
Whether it’s a brunch with friends or a cozy breakfast at home, these homemade buttermilk cinnamon rolls are sure to impress. Their delightful aroma and exquisite taste can turn any gathering into a special occasion. Picture this: friends laughing around the table, each reaching for a warm roll, their faces lighting up with every bite. Not only do these rolls look beautiful piled high on a platter, but they also invite moments of connection and joy. Whether you’re celebrating a milestone or simply savoring a Saturday with loved ones, these delicious cinnamon rolls will be the highlight of your meal.
Tips for Making Perfect Homemade Buttermilk Cinnamon Rolls
Creating homemade buttermilk cinnamon rolls is a delightful endeavor that leads to warm, fluffy treats. Let’s dive into some tips that will help you navigate this baking journey with confidence.
Key Steps for Achieving the Perfect Rise
- Yeast Activation: Start with fresh yeast, and ensure your buttermilk is lukewarm (around 110°F). Too hot or too cold can hinder yeast activation.
- Kneading: Knead the dough until it’s smooth and elastic. This helps develop gluten, which gives your cinnamon rolls their wonderful structure.
- First Rise: Allow the dough to rise in a warm spot until it doubles in size. This could take about an hour—don’t rush it! Patience is key.
- Second Rise: After shaping the rolls, let them rise a second time. This ensures they’ll be light and airy when baked.
Avoiding Common Pitfalls
- Overworking the Dough: Mixing the dough too much can make the rolls tough. Stop once the ingredients are combined and the dough is smooth.
- Filling and Rolling: Apply just enough filling to enhance flavor without making the dough too soggy. And when rolling, make sure to roll tightly for perfectly swirled rolls.
- Baking Too Long: Overbaking can lead to dry rolls. Keep an eye on them, aiming for a golden-brown color, and check doneness with a toothpick.
Enjoy your baking experience, and soon you’ll have a batch of homemade buttermilk cinnamon rolls that will impress anyone lucky enough to have one!
Time Details for Homemade Buttermilk Cinnamon Rolls
Making homemade buttermilk cinnamon rolls is a delightful journey from start to finish. Here’s a breakdown of the time commitment involved, so you can plan your baking adventure with ease.
Preparation time
- Approximately 20 minutes is all it takes to gather your ingredients, mix the dough, and roll it out for filling.
Rising time
- Allow about 1 hour for the dough to rise until it nearly doubles in size. This stage is crucial for achieving that fluffy texture we all adore.
Baking time
- Pop those rolls in the oven for 25-30 minutes until they turn a beautiful golden brown and fill your kitchen with heavenly scents.
Total time
- In just around 1 hour and 50 minutes, you’ll be ready to enjoy warm, gooey homemade buttermilk cinnamon rolls fresh from your oven!
Nutritional Information for Homemade Buttermilk Cinnamon Rolls
Creating homemade buttermilk cinnamon rolls is not just about the indulgent taste; it also brings an awareness of what we’re consuming. Here’s a breakdown of the nutritional content you can expect from this delightful treat.
Calories
Each roll contains approximately 250 calories, making them a sweet yet manageable indulgence for your morning or afternoon snack.
Protein
With about 4 grams of protein per roll, these tasty delights offer some sustaining energy to get you through your busy day.
Carbohydrates
A single roll packs around 36 grams of carbohydrates, providing a quick source of energy for your activities.
Sugar Content
Each roll has approximately 10 grams of sugar, contributing to that delicious sweetness we all crave while still being mindful of our sugar intake.
Enjoying homemade buttermilk cinnamon rolls can be a guilt-free treat when savored in moderation!
FAQs about Homemade Buttermilk Cinnamon Rolls
If you’ve ever dreamt of waking up to the warm scent of homemade buttermilk cinnamon rolls, you’re not alone. These delightful treats have a way of transforming an ordinary morning into a cozy celebration. But with such deliciousness comes a few questions! Let’s address some common queries you might have.
Can I make these cinnamon rolls ahead of time?
Absolutely! Preparing your homemade buttermilk cinnamon rolls ahead of time can save you precious morning minutes. You can assemble the rolls the night before, cover them tightly, and refrigerate. In the morning, simply let them rise for about 30 minutes and bake! You’ll enjoy the same scrumptious taste without the early wake-up.
How should I store leftover rolls?
Storing your cinnamon rolls properly ensures they stay fresh and delicious. Allow them to cool completely, then place them in an airtight container at room temperature. They’ll be best enjoyed within two days. If you want to keep them longer, consider freezing!
Can I freeze these rolls?
Yes, you can freeze these rolls both before and after baking! If freezing unbaked rolls, make sure to freeze them on a baking sheet first until solid, then transfer them to a freezer bag. When you’re ready, simply bake them straight from the freezer (just add a few extra minutes). If they’re already baked, let them cool, wrap tightly, and they can keep in the freezer for up to three months.
What can I substitute for buttermilk?
If you find yourself out of buttermilk while making your cinnamon rolls, don’t worry! You can easily make a substitute. Combine 1 cup of milk (whole or 2%) with 1 tablespoon of lemon juice or white vinegar. Let it sit for about 5 minutes to curdle, and voila— you have a buttermilk alternative that works great in this recipe!
With these tips in hand, you’re well on your way to savoring those delightful homemade buttermilk cinnamon rolls. Enjoy your baking!
Conclusion on Homemade Buttermilk Cinnamon Rolls
The homemade buttermilk cinnamon rolls you’ve created will undoubtedly become a family favorite. Imagine waking up to the heavenly scent of these warm, gooey rolls, their swirls of cinnamon and sugar inviting everyone to the kitchen. Not only are they easy to make, but they also provide a delightful bonding experience—perfect for weekend breakfasts or special occasions. With just a few simple ingredients, you can transform ordinary mornings into cherished memories. So gather your loved ones, share the love, and enjoy these delicious cinnamon rolls that will have everyone asking for a second helping!
Print
Cinnamon Rolls
- Total Time: 3 hours
- Yield: 12 rolls 1x
- Diet: Vegetarian
Description
Delicious homemade cinnamon rolls topped with icing for a sweet treat.
Ingredients
Scale
- 4 ½ teaspoons dry active yeast (2 packets)
- ½ cup warm water (105°-110°F)
- 1 ½ cups lukewarm buttermilk
- ½ teaspoon baking soda
- 2 Tablespoons granulated sugar
- ¼ cup vegetable oil
- 1 egg (room temperature)
- 4 to 5 ½ cups all-purpose flour
- 1 teaspoon fine salt
- ½ cup unsalted butter (melted)
- ½ cup granulated sugar
- ½ cup brown sugar
- 3 teaspoons cinnamon
- 2 cups powdered sugar
- 1–2 Tablespoons whole milk
- 1 teaspoon maple extract (or 1 tablespoon pure maple syrup, optional)
- ½ teaspoon vanilla extract (optional)
Instructions
- Dissolve yeast packets into warm water in a small bowl. Set aside.
- In another bowl, combine lukewarm buttermilk and baking soda. If needed, warm the buttermilk in the microwave in 15-20 second intervals until warm to the touch, but not hot. Set aside.
- In a large bowl, add 2 Tablespoons sugar, vegetable oil, and egg, whisking until the egg is well beaten. Pour the buttermilk mixture into this bowl, then stir. Add the yeast mixture to combine.
- In another large mixing bowl, add 4 cups of flour and salt. Pour in the wet ingredients. Mix well using a wooden spoon or spatula. The mixture will be quite wet at this point. Add an additional ½ cup of flour, and another ½ cup if needed, to form a shaggy dough.
- Transfer to a lightly floured surface and knead the dough gently about 20 times, adding additional flour as needed if it is overly sticky. The dough should be slightly sticky, soft, and elastic once you’ve finished kneading.
- Shape the dough somewhat into a ball and transfer to a bowl, covered with a tea towel, for 15-30 minutes until it’s slightly risen. In the meantime, lightly grease a 9×13 glass baking dish and prepare the filling by melting the butter and combining the sugars and cinnamon in a separate bowl.
- Punch dough down and transfer it onto a floured cutting board or counter. Roll dough into a large rectangle around 14×20 inches, with the long edge towards you.
- Spread the melted butter on rolled out dough, leaving about 1/2 inch edge around the dough. Sprinkle the cinnamon sugar mixture evenly across the dough, pressing gently into the butter.
- Begin rolling the dough into a log by starting at the long edge and rolling up in an even, tight row. Continue rolling until it is in a full log.
- Use a serrated knife or unscented dental floss to slice into 1 ½ inch pieces. Discard the small edges. Transfer sliced rolls to the prepared baking dish, placing them cut-side up and leaving room between each roll for them to rise. Cover the pan with the tea towel and let the rolls rise in a warm environment for about 1 hour until they’ve doubled in size.
- If the rolls seem to be progressing in their rise, begin preheating the oven to 350° F about 30 minutes into their rise. Once they’re ready, bake for 17-20 minutes until the edges and tops are just slightly golden brown. Remove from oven and let cool slightly before frosting.
- In a bowl, combine powdered sugar, milk, and vanilla or maple flavoring (whichever you’re using). Mix to desired consistency. Spread the icing onto the slightly cooled rolls and enjoy!
- Cover leftover frosted or unfrosted rolls tightly and store at room temperature for up to 2 days or in the refrigerator for up to 5 days.
Notes
- For best results, ensure your ingredients are at room temperature.
- If your house is cold, you may need to allow extra time for the dough to rise.
- Prep Time: 30 minutes
- Cook Time: 20 minutes
- Category: Dessert
- Method: Baking
- Cuisine: American
Nutrition
- Serving Size: 1 roll
- Calories: 250
- Sugar: 15g
- Sodium: 150mg
- Fat: 10g
- Saturated Fat: 5g
- Unsaturated Fat: 3g
- Trans Fat: 0g
- Carbohydrates: 35g
- Fiber: 1g
- Protein: 4g
- Cholesterol: 40mg