Follow Me On Social Media!

Small Batch Cherry Pie Filling: Irresistibly Sweet & Simple
Introduction to Small Batch Cherry Pie Filling
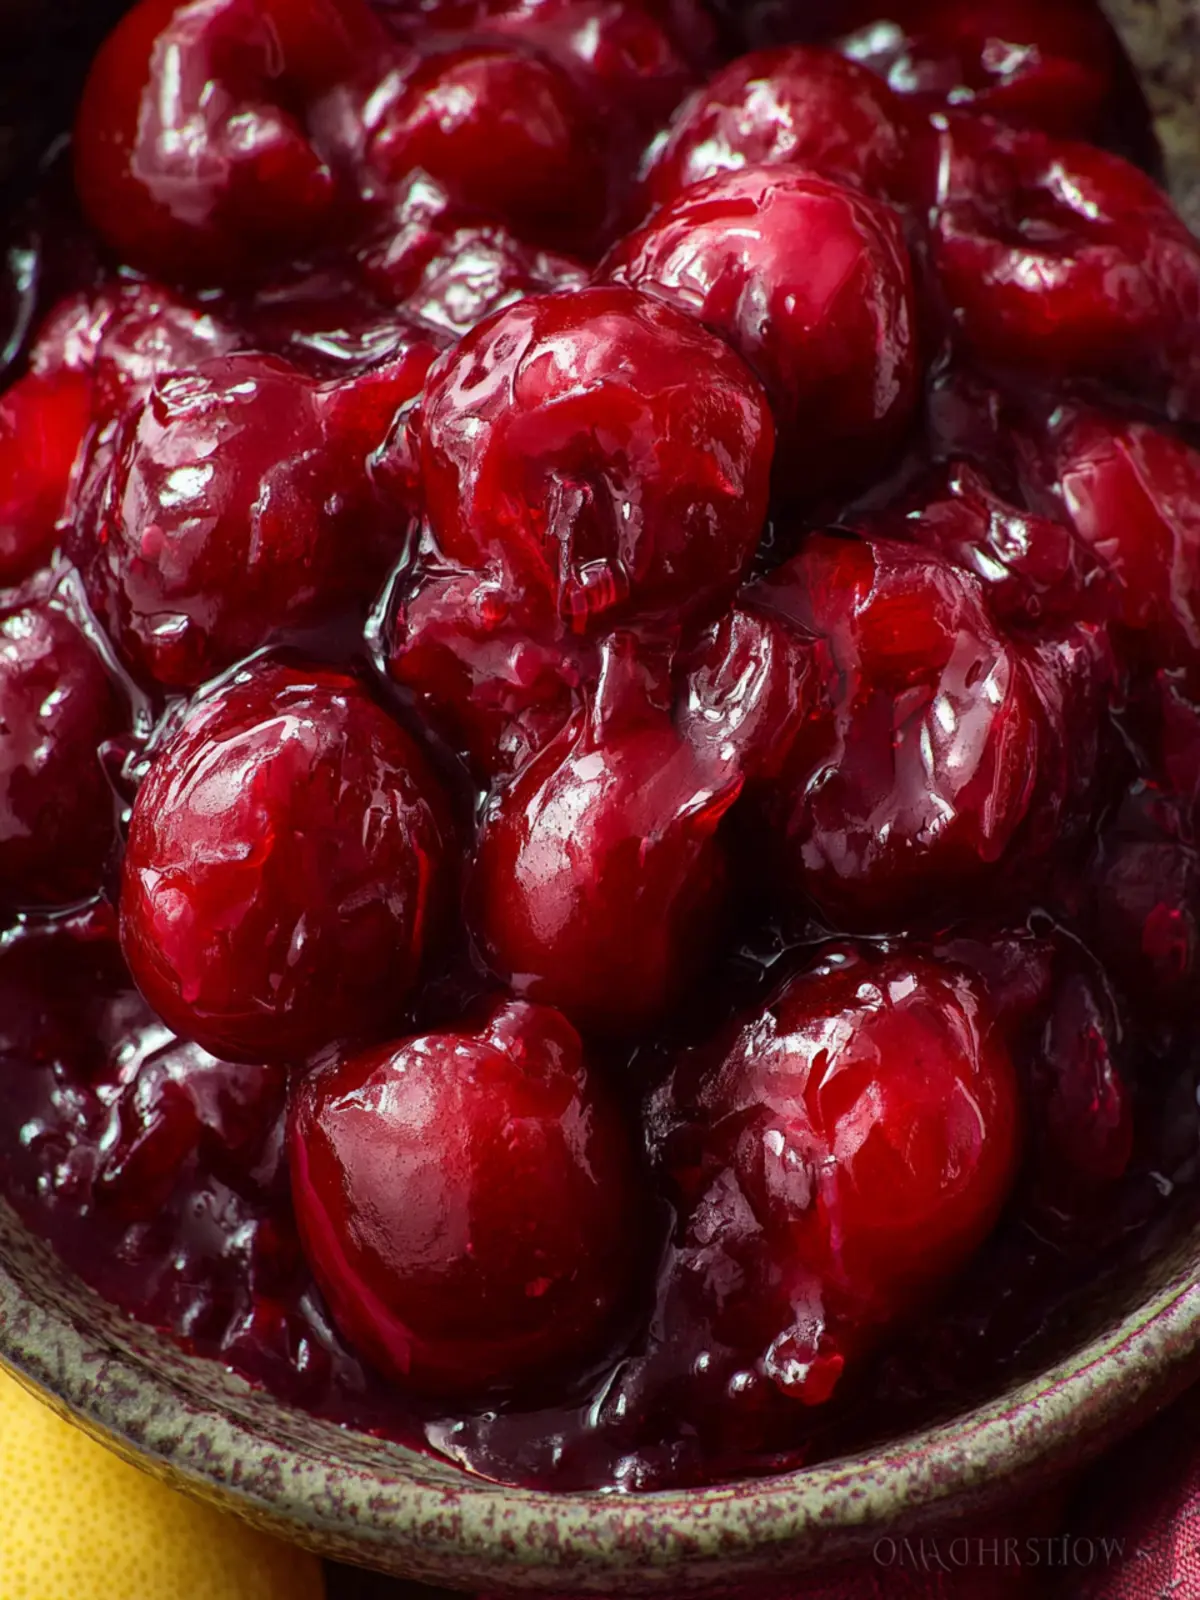
Crafting a delightful small batch cherry pie filling brings a sprinkle of nostalgia and a dash of homemade magic to your kitchen. Imagine bustling around your favorite grocery store, picking fresh cherries, their deep crimson hue catching your eye. Each cherry holds the promise of juicy sweetness, bursting with flavor that brings back memories of summer pie picnics and family gatherings. In just a short time, you can transform these vibrant cherries into a luscious filling, perfect for any dessert or simply to enjoy straight from the jar.
But what truly makes homemade cherry pie filling so special? It’s the personal touch! When you make your own filling, you can adjust the sweetness, tartness, and texture to exactly suit your taste. Plus, the satisfaction of creating something from scratch is undeniable. No preservatives, no additives, just pure, fruity goodness reminiscent of those comforting classic desserts. Each spoonful is an invitation to indulge in the vibrant flavors of summer, no matter the season.
What Makes Homemade Cherry Pie Filling So Special?
-
Quality Ingredients: Choosing fresh, ripe cherries makes a world of difference. The flavor profile is unparalleled compared to store-bought varieties, which often lack depth.
-
Personalization: The beauty of making a small batch cherry pie filling is that you can customize it! Whether you prefer a sweeter filling or a tart punch, you have full control.
-
Nostalgic Experience: There’s something rewarding about working with fruit that connects us to memories of baking with loved ones. It can even become a cherished family tradition!
-
Versatility: This filling isn’t just for pies. Use it as a topping for pancakes, cheesecakes, or even yogurt bowls—its versatility makes it a great addition to your pantry.
Embrace the joy of creating your small batch cherry pie filling, and discover how this simple act can elevate your culinary experience. Let’s dive into the recipe and savor the moments in the kitchen together!
Key Ingredients for Small Batch Cherry Pie Filling
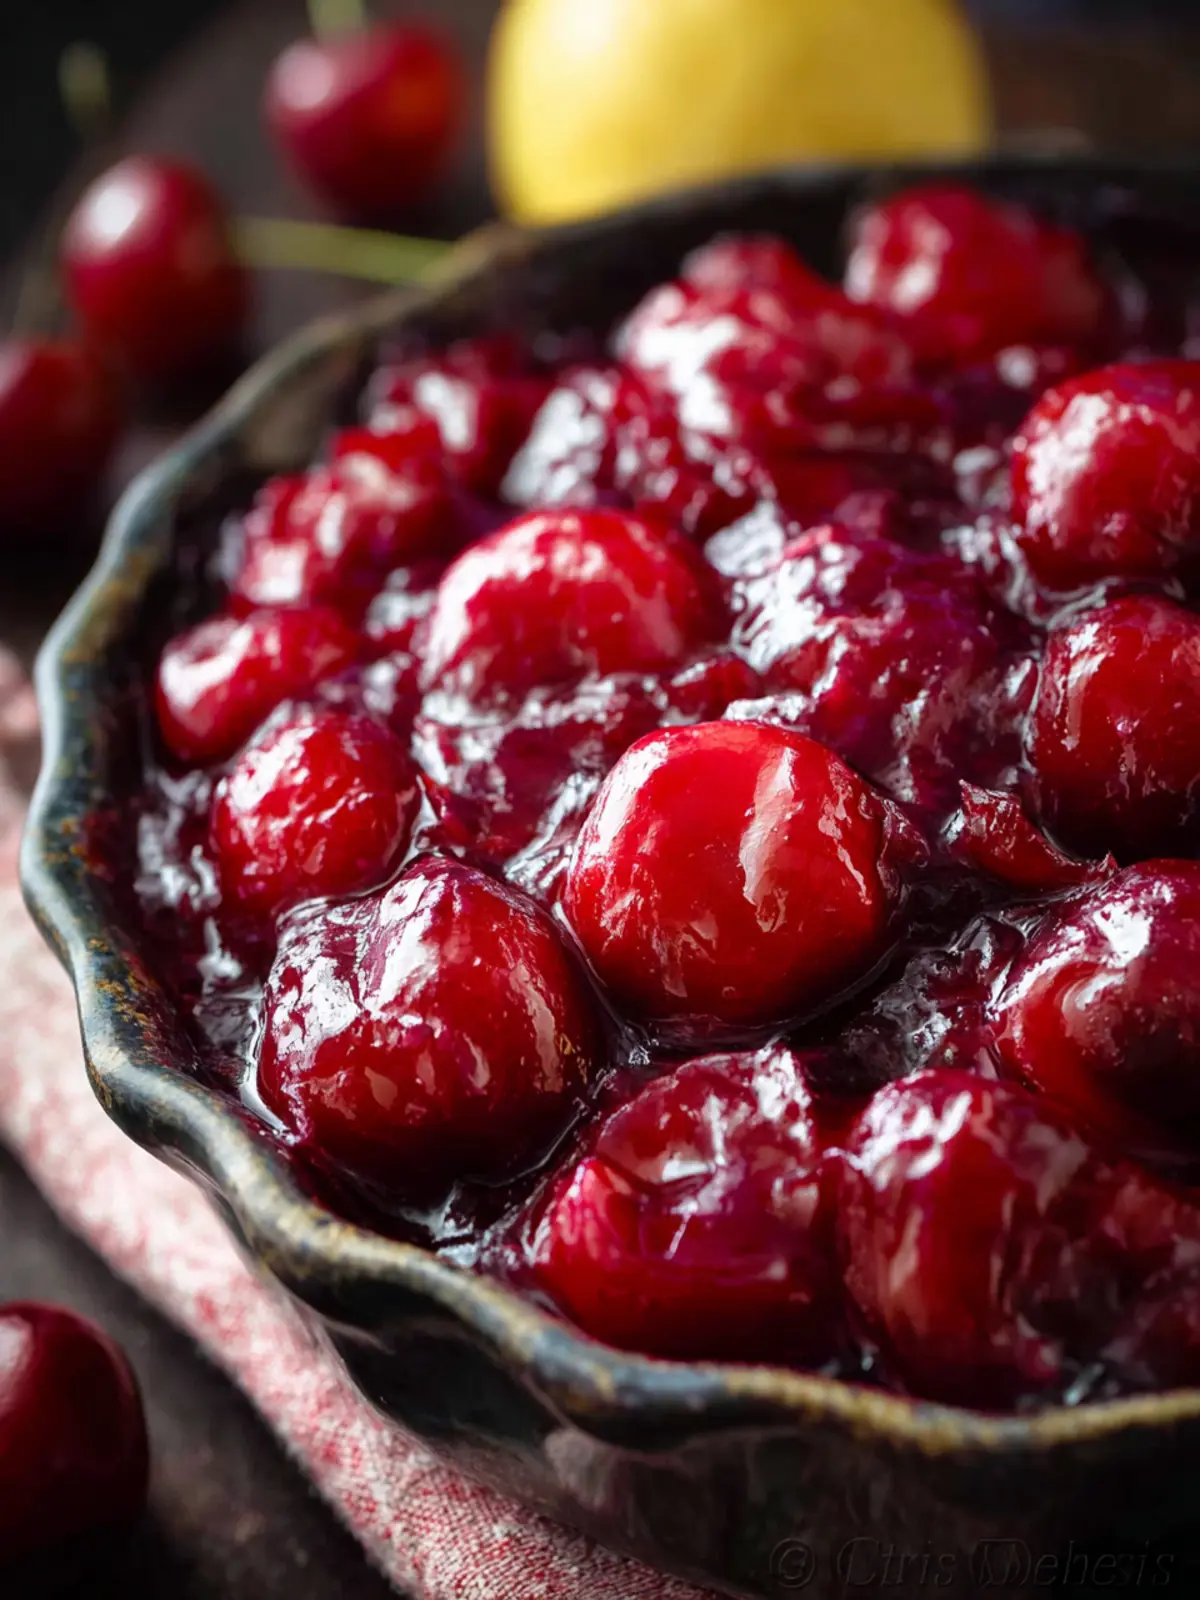
Creating small batch cherry pie filling is a delightful journey, perfect for those evenings when a sweet craving hits. My first taste of cherry pie filling was made from ripe summer cherries, and I’ve cherished that moment ever since. It’s truly magical how a few simple ingredients can transform into a comforting dessert.
-
Fresh Cherries: The star ingredient, fresh cherries, lend that vibrant flavor and color to the filling. Always choose ripe, sweet cherries for the best results. If fresh cherries aren’t available, frozen ones will work nicely, just be sure to thaw and drain them.
-
Granulated Sugar: A touch of sweetness is essential. I recommend starting with a modest amount of sugar and adjusting to your taste, as cherries can vary in sweetness.
-
Cornstarch: This is your thickening agent. It creates the ideal texture, making the filling luscious without becoming overly sticky.
-
Lemon Juice: Just a splash of lemon juice balances the sweetness and enhances the cherry flavor. It’s a simple trick that elevates the filling.
-
Vanilla Extract: Adding a hint of vanilla brings warmth to the mixture, making it dance on your palate.
This blend of ingredients makes for a perfect filling whether you’re crafting a cozy pie or just enjoying it on its own!
Why You’ll Love This Recipe
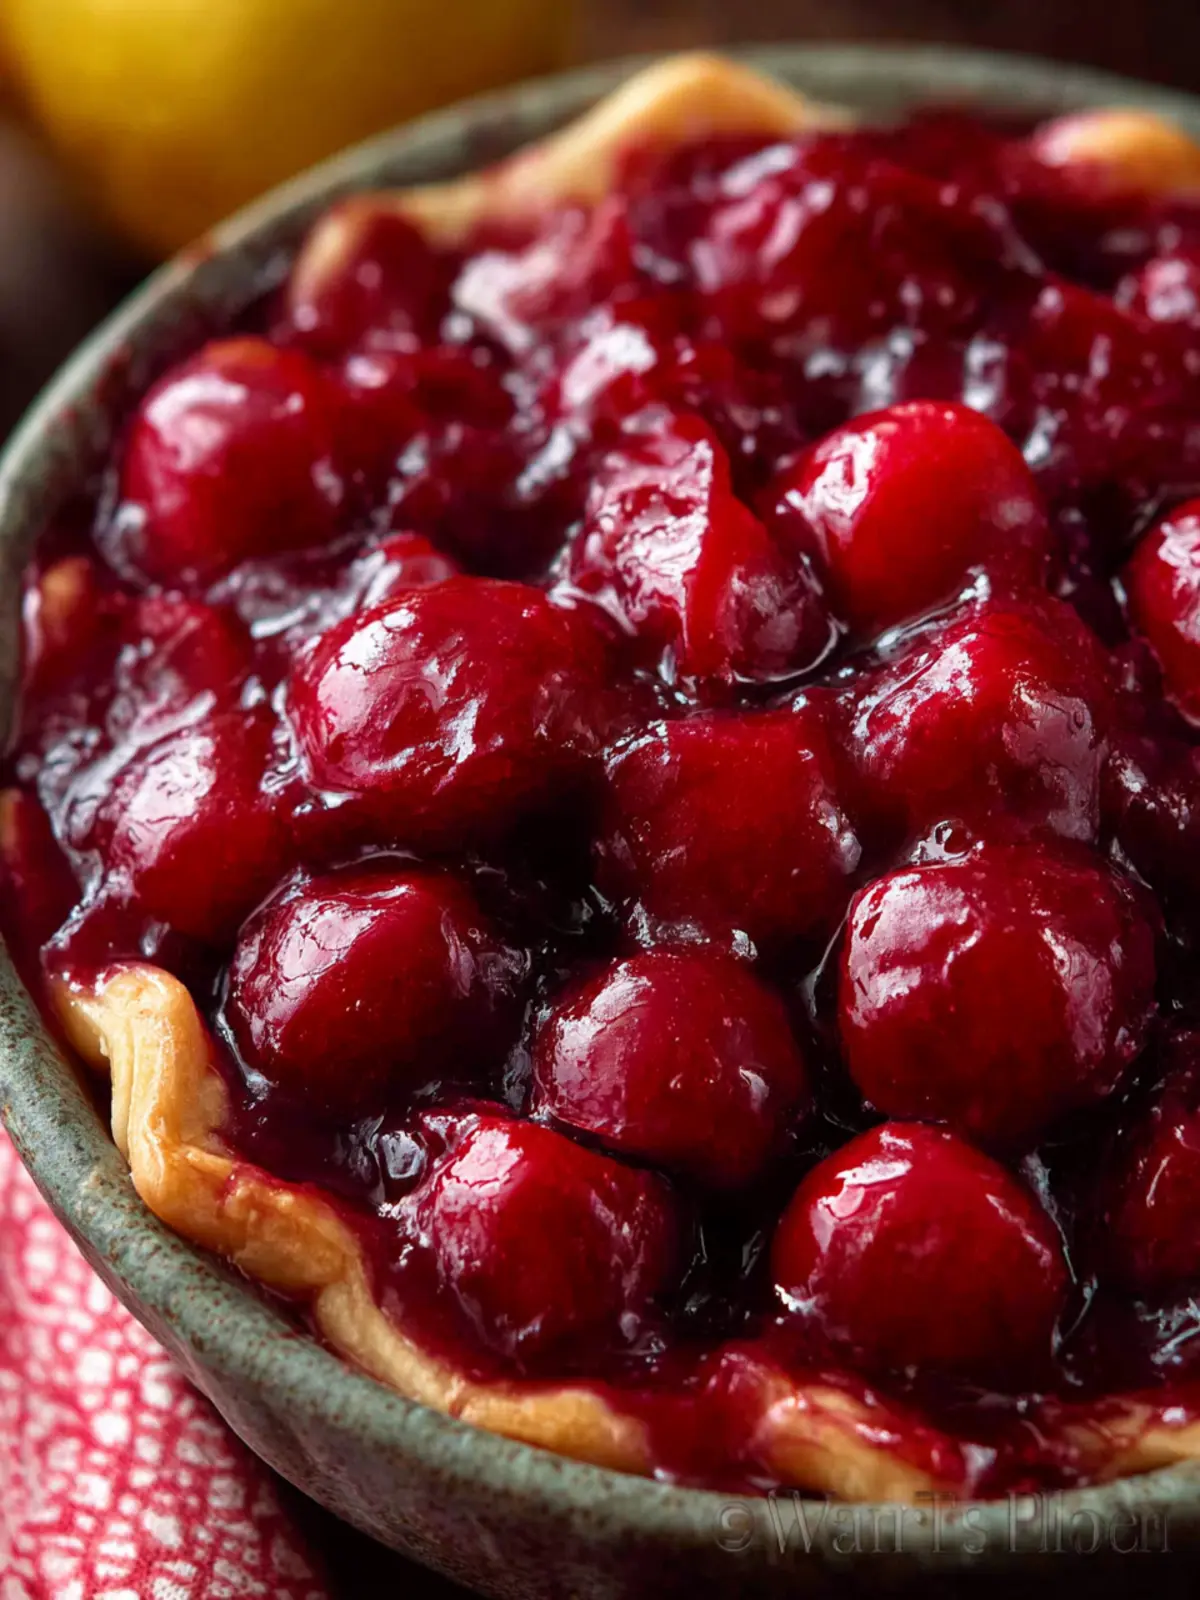
Creating small batch cherry pie filling in your kitchen is a delightful journey that transforms fresh cherries into a sweet, tangy filling worth savoring. Imagine the aroma of cherries simmering on your stovetop, filling your home with a warmth reminiscent of summer picnics and family gatherings. This recipe is perfect for those moments when a full pie feels overwhelming, yet your craving for that luscious cherry flavor cannot be ignored.
A Perfect Portion
Here’s why you’ll love making this small batch cherry pie filling:
-
Simplicity: With just a handful of ingredients, this recipe is straightforward and easy to follow. You don’t need advanced skills to whip up this delightful treat.
-
Freshness: Using fresh cherries means you’ll experience the fruit’s natural sweetness. The vibrant flavor is far superior to store-bought options.
-
Versatility: Not only is this filling perfect for classic cherry pies, but it can also elevate pancakes, ice cream, or yogurt with a fruity burst that excites the palate.
-
No Waste: The small batch format means you can enjoy this cherry filling without having leftovers piling up, allowing you to bake with intention.
By the end of this recipe, you’ll find yourself looking for every excuse to enjoy that mouthwatering cherry pie filling in your culinary creations!
Variations on Cherry Pie Filling
Creating small batch cherry pie filling doesn’t have to be a one-size-fits-all approach. The beauty of making your own filling lies in its versatility. With a few simple tweaks, you can transform a classic recipe into something uniquely yours.
Different fruits to try
While cherries take center stage, don’t hesitate to experiment with other fruits. Consider:
- Blueberries: They add a subtle sweetness and lovely color.
- Peaches: Their juicy texture pairs wonderfully with tart cherries.
- Raspberries: These bring a tart punch that can elevate the overall flavor.
- Mixed berries: Combine cherries with blackberries and strawberries for a delightful berry medley.
Each fruit choice will produce a different flavor profile and texture, allowing you to adapt your small batch cherry pie filling for any occasion!
Using spices for added flavor
Spices can take your filling to the next level. Try incorporating:
- Cinnamon: Adds warmth and depth.
- Nutmeg: A little goes a long way in enhancing the overall aroma.
- Lemon zest: It brightens the filling and balances sweetness.
- Ginger: Offers a subtle kick that complements the fruit.
These spices not only enhance the taste but also evoke cozy memories of baking with the family.
Alternative sweeteners
If you’re looking to reduce sugar or simply try something different, consider these alternatives:
- Honey: Adds a floral note and moisture.
- Maple syrup: Infuses a rich and unique flavor.
- Stevia: A popular low-calorie option for those monitoring sugar intake.
By experimenting with sweeteners, you can tailor your small batch cherry pie filling to suit various diets while satisfying your sweet tooth. Each option brings its own character to your filling, making it fun to explore!
Cooking Tips and Notes for Cherry Pie Filling
Creating the perfect small batch cherry pie filling is an art that brings joy to any dessert lover. As you embark on this culinary adventure, keep these tips in mind to enhance your cherry pie experience.
Perfecting the texture
The texture of your cherry pie filling can make or break your dessert. To achieve that delightful, luscious consistency, consider the following:
- Use fresh cherries: Whenever possible, opt for fresh cherries to ensure a vibrant flavor and appealing bite. Frozen cherries work too, but thaw them completely and drain excess liquid to prevent a watery filling.
- Thickening agents: Cornstarch is a popular choice for thickening, giving your filling the perfect body. Mix cornstarch with a bit of sugar before adding it to the cherries to prevent clumping.
Avoiding common pitfalls
Navigating through the pie filling process can be tricky if you’re not careful. Here are some common pitfalls to avoid:
- Too much liquid: One of the biggest mistakes is not reducing the juice from the cherries. Simmer the mixture to evaporate excess moisture before pairing with your crust. This keeps your pie from becoming soggy.
- Adjusting sweetness: Depending on the tartness of your cherries, you may need to modify the sugar content. Taste your filling as you go and adjust accordingly, keeping in mind that it’s easier to add more sugar than to take it away.
By following these tips, your small batch cherry pie filling will surely impress, creating memories that will leave everyone asking for seconds. Happy baking!
Serving Suggestions for Cherry Pie Filling
Using small batch cherry pie filling opens up a world of delicious possibilities, especially when you explore creative ways to enjoy this sweet and tangy treat. Let’s dive into a couple of serving suggestions that will elevate your cherry pie filling experience and ensure you make the most of every spoonful.
Best Desserts to Pair with the Filling
There’s no denying that cherry pie filling shines at the center of any dessert table. Here are some standout pairings:
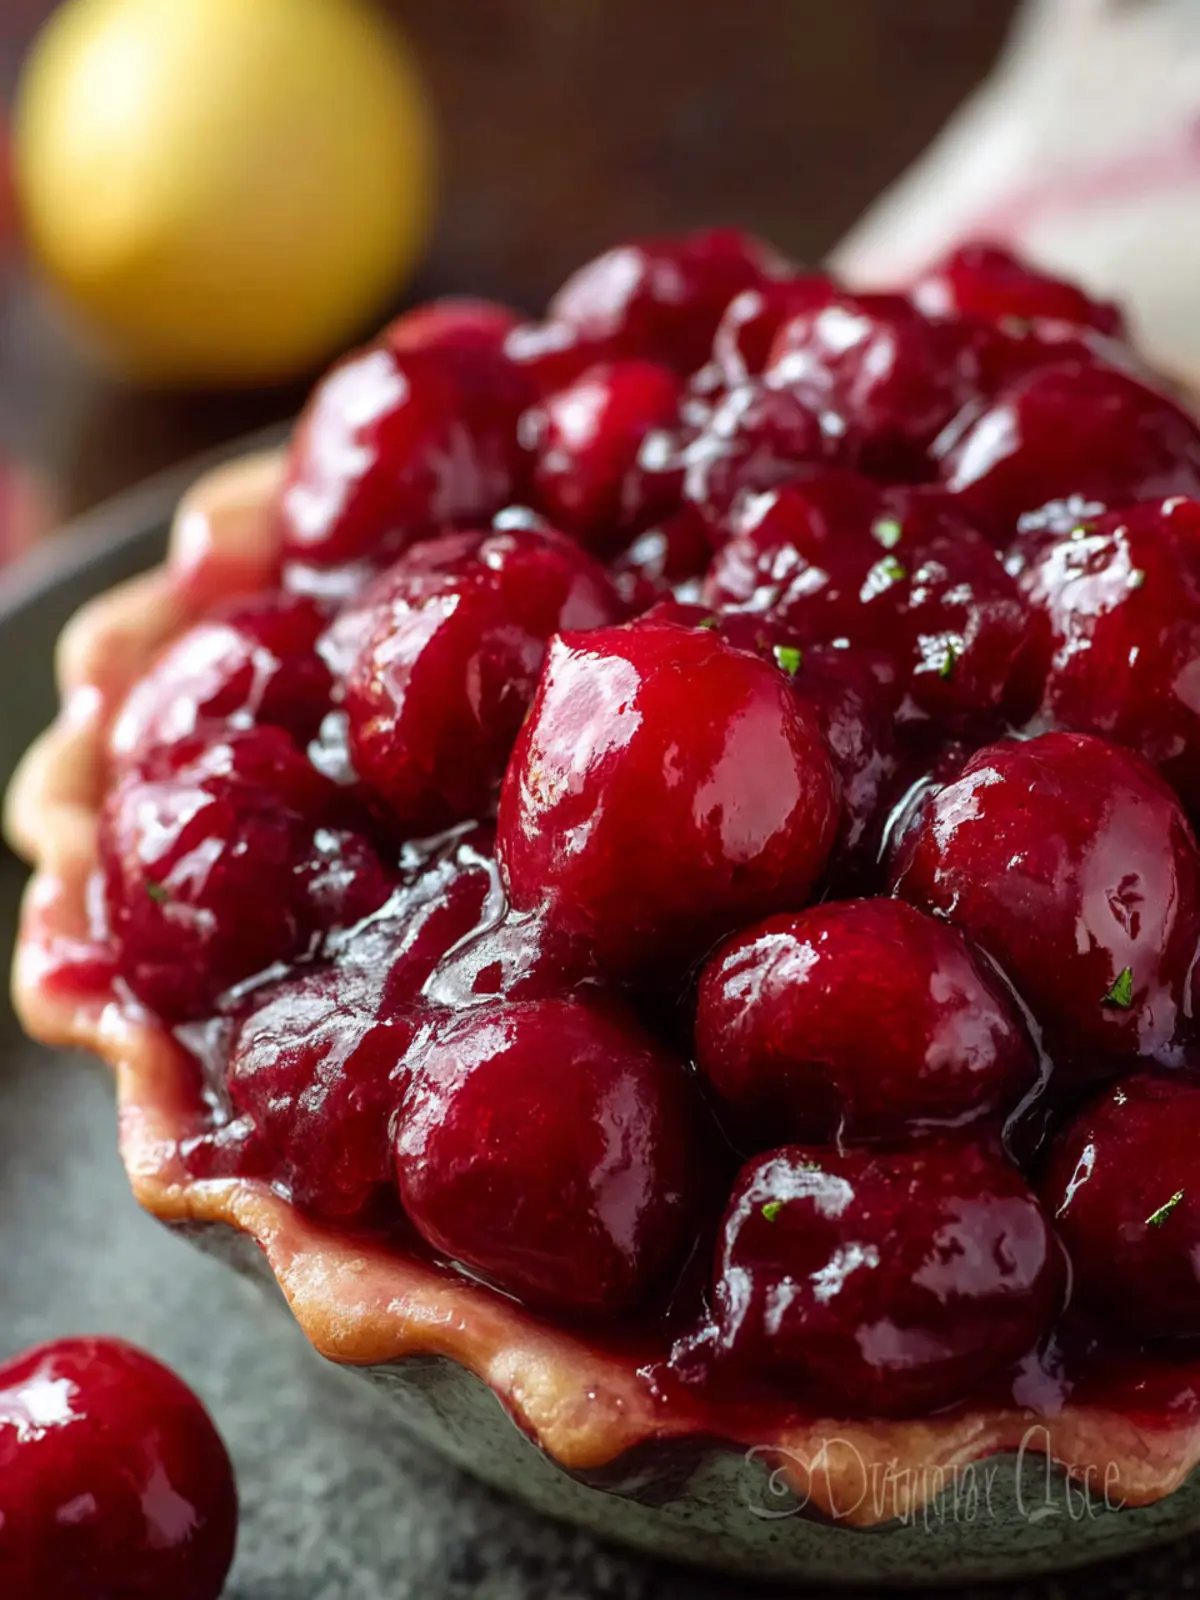
- Classic Cherry Pie: Naturally, you can’t go wrong with a traditional cherry pie. Nestled between flaky crusts, your filling will be the star of the show.
- Cherry Crumble: Top the filling with a buttery oat topping for a delightful cherry crumble. Serve warm with a scoop of vanilla ice cream for a cozy dessert.
- Pancakes or Waffles: Drizzle warm cherry filling over pancakes or waffles for a fruity breakfast twist. It’s particularly satisfying on a lazy Sunday morning.
- Cheesecake Topping: Bring a burst of flavor to your cheesecake by spooning cherry pie filling on top, adding both visual appeal and delectable taste.
Creative Ways to Use Leftover Filling
If you find yourself with small batch cherry pie filling leftover, fear not! Here are some innovative ideas to incorporate it into other meals:
- Yogurt Parfait: Layer cherry filling with Greek yogurt and granola for a quick and nutritious breakfast or snack.
- Cherry Smoothie: Blend the filling into a fruity smoothie with some banana, spinach, and almond milk for a refreshing drink.
- Cherry Sauces: Use the filling as a topping for savory dishes like grilled pork or chicken, adding a sweet contrast that elevates the meal.
These suggestions not only enhance your culinary arsenal but also ensure that no delightful drop of small batch cherry pie filling goes to waste. Happy cooking!
Time Breakdown for Making Cherry Pie Filling
Creating small batch cherry pie filling is a delightful, rewarding process. Knowing how much time each step takes helps you plan and manage your kitchen efficiently.
Preparation time
The initial prep for this small batch cherry pie filling takes about 10 minutes. You’ll wash, pit, and slice the cherries while assembling your other ingredients. A little effort here goes a long way in getting those flavors just right!
Cooking time
The actual cooking phase typically lasts around 15 minutes. You’ll be simmering those luscious cherries with sugar until they release their juices and create a beautiful, syrupy consistency.
Cooling time
After cooking, don’t forget to give your filling some time to cool—approximately 30 minutes is ideal. This cooling period allows the flavors to marry beautifully, and it also thickens the filling for the perfect pie.
Taking this time ensures that your cherry pie filling is as delicious as it can be!
Nutritional Facts for Cherry Pie Filling
Cherry Pie Filling is not just a delightful treat; it can be surprisingly informative when you look at its nutritional profile. Knowing what’s inside your small batch cherry pie filling can enhance your overall experience in the kitchen. Here’s a closer look at what you’re indulging in when you whip up this sweet filling.
Calories
A serving of homemade small batch cherry pie filling typically contains around 100 calories. This makes it a delightful choice for those looking for a sweet dessert that won’t break the calorie bank.
Sugar Content
Naturally sweet, cherries contain their own sugars, but when preparing small batch cherry pie filling, you might be adding a bit more sugar for that perfect balance. Expect about 20 grams of sugar per serving. While this adds sweetness, remember that moderation is key!
Carbohydrates
The carbohydrate count is approximately 25 grams per serving. This includes the sugars from the cherries and any added sugar, so it’s essential to be mindful if you’re watching your carb intake.
Enjoy your cherry pie filling knowing you have a tasty treat that combines flavor with a little nutritional wisdom!
FAQs about Small Batch Cherry Pie Filling
When the sweet, tart flavors of small batch cherry pie filling call you, it’s only natural to have some questions. Whether you’re a beginner baker or a seasoned pro, this section will help you navigate making and storing this delightful treat.
Can I make this filling ahead of time?
Absolutely! One of the great aspects of making small batch cherry pie filling is its convenience. You can prepare the filling a day or two in advance. Just let it cool completely after cooking, then store it in an airtight container in the refrigerator. This allows the flavors to meld beautifully, so your pie will be exceptionally tasty when you finally bake it.
How do I store leftover cherry pie filling?
If you find yourself with leftover filling—though that’s often a rarity—you’ll want to preserve its freshness. Simply transfer the filling into a sterilized jar or a tight-sealing container. Store it in the refrigerator, where it should stay fresh for up to a week. You can also freeze it! Just make sure to leave some space in the container for expansion as it freezes.
Is there a way to can the filling?
Canning small batch cherry pie filling is possible, but it requires proper preparation to ensure safety and longevity. Make sure you follow USDA-approved canning guidelines to avoid any risk. Use a pressure canner for best results, and remember, the filling should be hot when you pour it into sterilized jars. Allowing them to cool gradually will help create a vacuum seal. This way, you can enjoy your homemade filling months down the line!
Conclusion on Small Batch Cherry Pie Filling
Crafting a delightful experience with small batch cherry pie filling is not just about the ingredients; it’s the joy of indulging in a homemade treat without the hassle of a full-sized dessert. Imagine your kitchen filled with the warm, sweet scent of cherries simmering just right. Whether you use this filling for pies, toppings, or simply spoon it over your morning yogurt, this recipe brings a burst of flavor that elevates any dish. Remember, quality cherries and just the right balance of sweetness and acidity make all the difference. Dive into your cherry-filled adventure, and relish every bite!
Print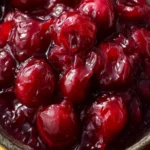
Cherry Pie Filling
- Total Time: 15 minutes
- Yield: 1 quart 1x
- Diet: Vegetarian
Description
A delicious homemade cherry pie filling, perfect for desserts!
Ingredients
Scale
- 1 cup cherries (pitted)
- 2 tablespoons sugar
- 1 tablespoon lemon juice
- ½ tablespoon cornstarch
- 2 tablespoons water
Instructions
- Add the cherries, sugar, lemon juice, cornstarch, and water to a 1 quart saucepan. Stir until the cornstarch is fully dissolved.
- Place the saucepan over medium heat and cook, stirring frequently, until the mixture comes to a boil.
- Reduce the heat to low and simmer for about 5 minutes, stirring occasionally, until the cherries soften and the filling thickens and coats the back of a spoon.
- Remove from the heat and let the cherry pie filling cool to room temperature. It will continue to thicken as it cools.
- Transfer to a jar or bowl and refrigerate until ready to use, covered in the refrigerator for up to one week.
Notes
- Best served chilled or at room temperature.
- This filling can be used in pies, tarts, or as a topping for desserts.
- Prep Time: 5 minutes
- Cook Time: 10 minutes
- Category: Dessert
- Method: Stovetop
- Cuisine: American
Nutrition
- Serving Size: 1/4 cup
- Calories: 100
- Sugar: 15g
- Sodium: 2mg
- Fat: 0g
- Saturated Fat: 0g
- Unsaturated Fat: 0g
- Trans Fat: 0g
- Carbohydrates: 25g
- Fiber: 1g
- Protein: 1g
- Cholesterol: 0mg